In this article
Account admins use this article to migrate your Cloudflare account to DNSFilter. Follow linked guides throughout this article to complete the switch.
We recommend MSPs and Resellers begin by setting up a multi-tenant account so any trial configurations are already part of the Partner account. When multi-tenancy is setup, there is an available sub-org that matches the name of the Partner account for internal use and/or testing.
We'll go into more of the benefits of Partner accounts below.
🚨 Important: It is not possible to transfer test Filtering Policies, Sites, Roaming Clients, etc. created in a standard account to a Partner account.
Basic DNSFilter setup
Follow these steps to get started. For a more detailed look at the onboarding experience, check out our Get Started with DNSFilter guide.
Step one: Prepare your environment to deploy DNSFilter
Prepare your environment to deploy DNSFilter, especially clearing stale DNS resolvers from devices. If Cloudflare is still present on the device it can produce conflicts.
Step two: Migrate your Filtering Policies
Security (Threat) and Content filtering categories from Cloudflare differ from DNSFilter, but our team mapped each Cloudflare category to a corresponding DNSFilter equivalent so your policies can match (link in steps below).
- Add a new Filtering Policy
- Select Categories and Threats to match your Cloudflare categories
- Bulk import Allow and Block Lists from Cloudflare as a CSV file
DNSFilter policies also have features that are similar to Cloudflare for performing tasks such as Application Blocking (AppAware) and SafeSearch (per search engine).
Reference our introduction to Filtering Policies article to learn more about other filtering features like Block Pages, scheduled filtering, and applying policies to different environment attributes.
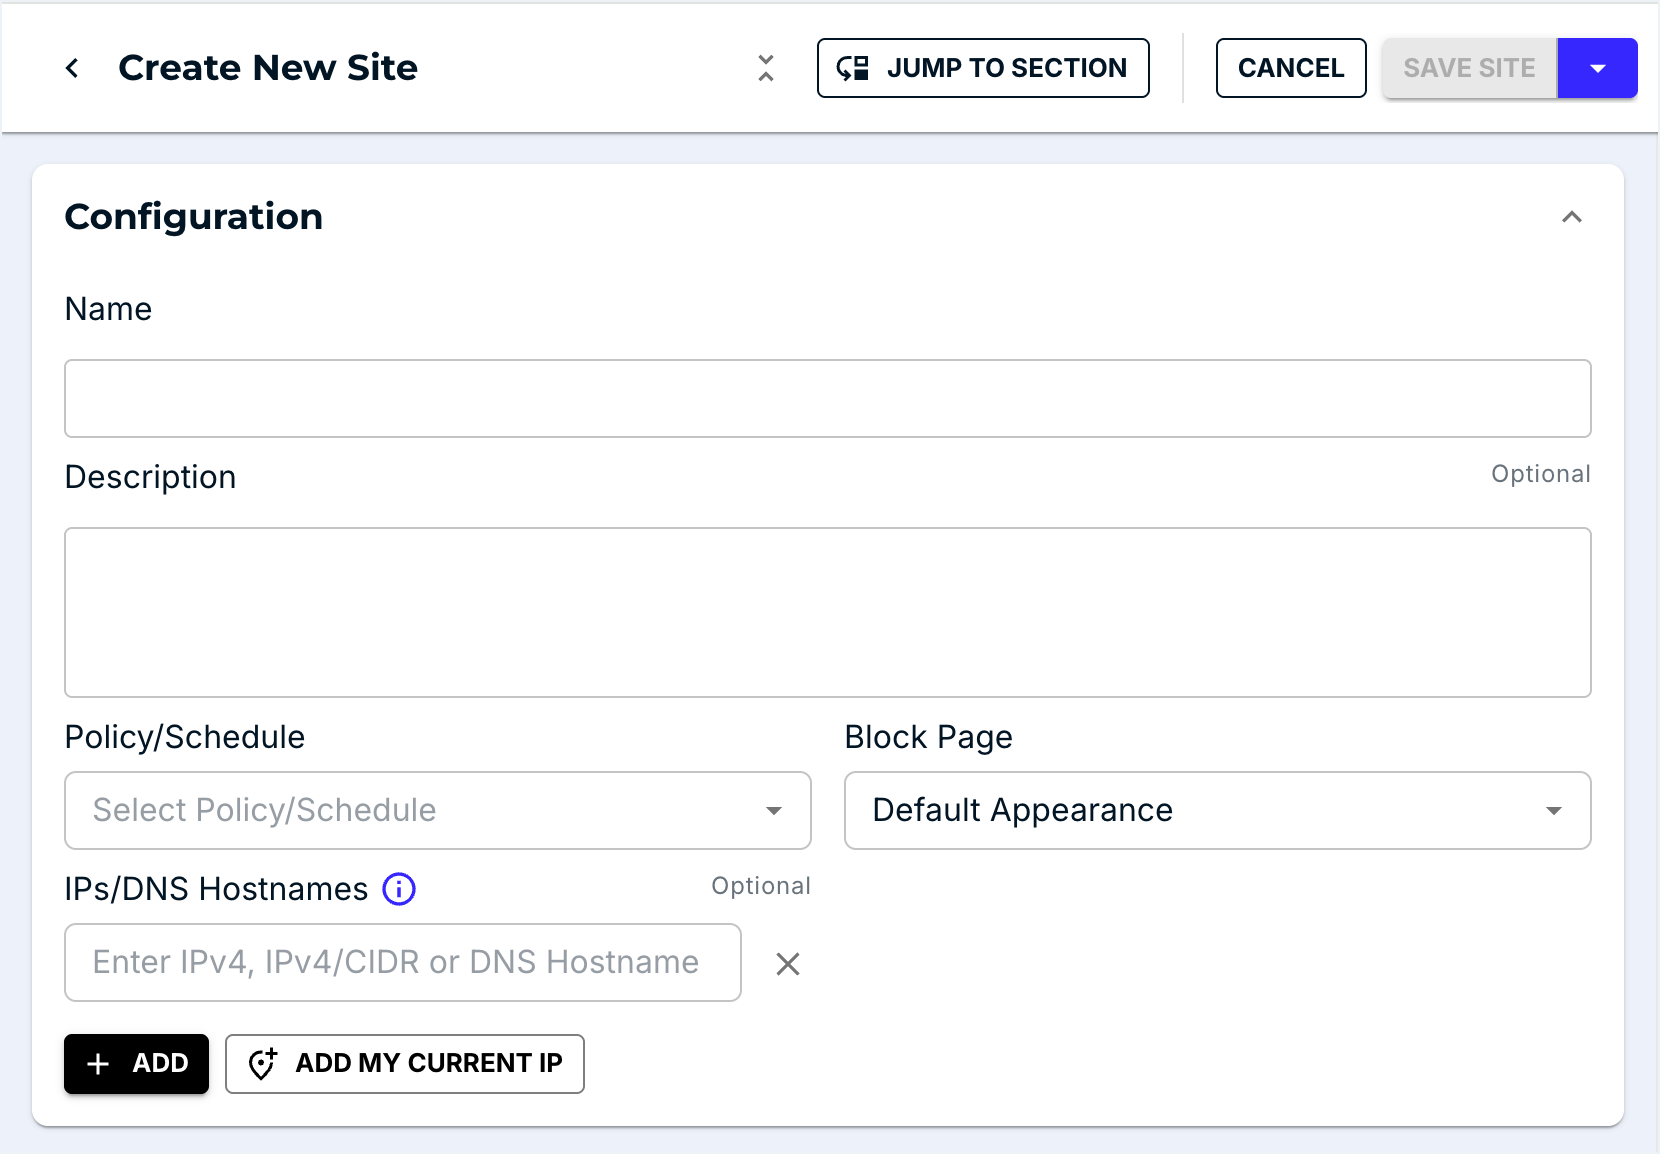
Step three: Create Network Sites
DNSFilter Sites are the equivalent of Cloudflare's Locations and are the blanket-layer of protection for any network. Both Roaming Clients and DNS Relays must be associated with a Site for deployment.
Add Network Sites from the DNSFilter dashboard.
 Step four: Replace WARP with the DNSFilter Roaming Client
WARP is Cloudflare's roaming agent, so for offsite protection WARP is replaced with DNSFilter's Roaming Client.
WARP agents must be uninstalled from devices before installing our Roaming Client: do not install or run these products side by side.
Install the DNSFilter agent for any of these Operating Systems:
DNSFilter supports (and encourages) the use of Remote Monitoring and Management (RMM) and Mobile Device Management (MDM) tools to manage and automate Roaming Client deployment. Our Community includes posts that guide installation via tools like Intune, Connectwise, and Mosyle Manager to help with this process.
This configuration will get your account close to the same experience as Cloudflare, but take a look at other DNSFilter offerings like DNS Relay and Data Export to make the most out of your account.
Sync user management
Organizations with on-perm or cloud-based Active Directory (Azure AD) can sync users with our Active Directory Sync Tool.
Install the DNSFilter sync tool on a domain join machine for on-prem and on any machine for Azure environments. For full use of Active Directory syncing, the Windows Roaming Client must be installed on endpoints.
Additional Partner account benefits
There are many benefits to becoming an MSP partner with DNSFilter and setting up a multi-tenant account:
- Enablement resources to help sell DNSFilter to your clients
- Courses for your staff to learn the ins and outs of the product
- Whitelabeling to present a transparent client dashboard experience
- PSA integrations that provide streamlined billing and management capabilities
- Global policies to apply across any sub-orgs, saving your team time on deployments
Use our MSP & Reseller resources to configure these additional settings, and happy filtering!

Comments
0 comments
Please sign in to leave a comment.